Metrology & Part Development
Initial Analysis
One a basic product design has been created, i.e. before production tooling is manufactured, a group discussion involving individuals from varying backgrounds (specialities) is often used to identify any potential issues. This is called an FMEA (Failure Mode and Effects Analysis).
A few different types of FMEA analyses exist, such as:
- Functional
- Design
- Process (PFMEA’s are the most common type that lead to the requirement of a defined measurement study)
A successful FMEA activity helps identify potential failure modes based on experience with similar products and processes. The implications (particularly if there is a potential risk to safety), likelihood of product failure and ability to detect an issue are scored (1 to 10). Higher scoring potential issues are then targeted, e.g. by changes to design.
Metrology can be used to monitor any product features that have been assigned a high-risk status.
CAP (Capability) Studies
These are used to determine the amount of variability across a number of similar components, usually following a Tool Trial. The number of tool trials (progress as T0, T1, T2, T3 etc.) will depend on the complexity of a component, particularly in terms of the tolerance levels required. (This is particularly relevant in the case of multi-impression tooling). Following each Tool Trial, tooling will be modified to correct any variations detected, the process repeated until components studied are within tolerance.
Product features are measured, perhaps having been prioritised following an PFMEA. These features are broken down into four basic types:
- SC = Special Characteristics
- HIC = Higher Importance Characteristics
- <F> = Functional Characteristics
- <S> = Safety Characteristics
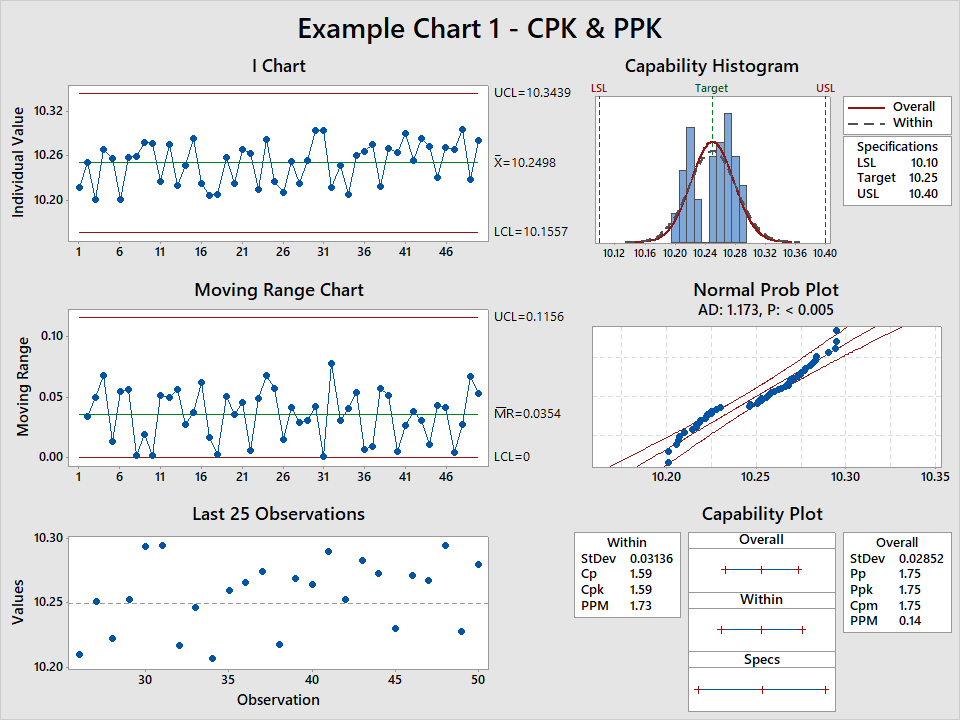
CAP studies can vary in terms of the number of components involved, varying from 10 to 125+ parts. The greater the number of components analysed, the more accurate the findings will be. The purpose of a CAP study is to provide a consistency ‘score’, this directly reflecting how ‘capable’ a process or product is.
Statistical process control (SPC) is then used to analyse the results obtained. This is a method of quality control which employs statistical methods to monitor and control a process. This helps to ensure that the process operates efficiently, producing more specification-conforming products with less waste (rework or scrap).
CPK RATING – This is a score that reflects the amount of variation in a product/feature. It focusses on shorter term capability and usually involves between 20 to 50 components. The higher the CPK rating the better (least variation), a typical target score being 1.33 or greater.
PPK Rating – This involves a more in-depth study, typically requiring the measurement of at least 125 components. The target score will typically be 1.67 or greater.

