• Contact Measurement
• Non-Contact Measurement
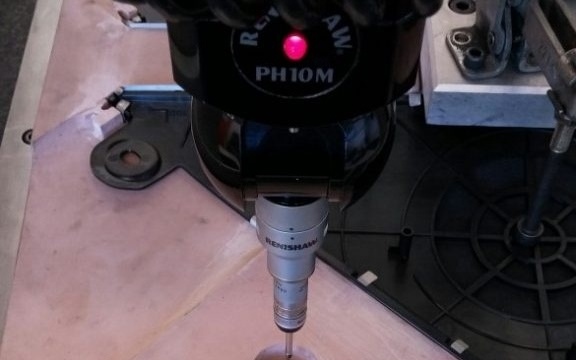
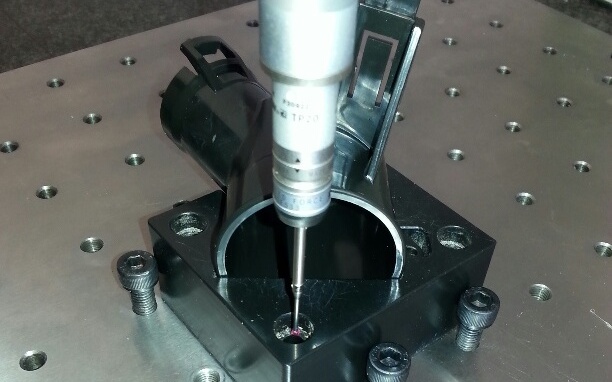
Contact Measurement:
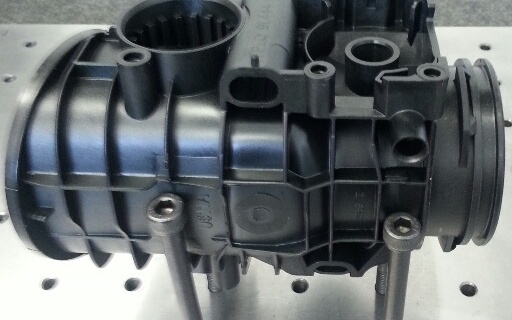
Utilising state of the art CMM Inspection Software, we are able to accurately measure any type of components, down to 1µ.
Our current CNC CMM uses a contact probe system that gives repeatable and accurate dimensional results every time.
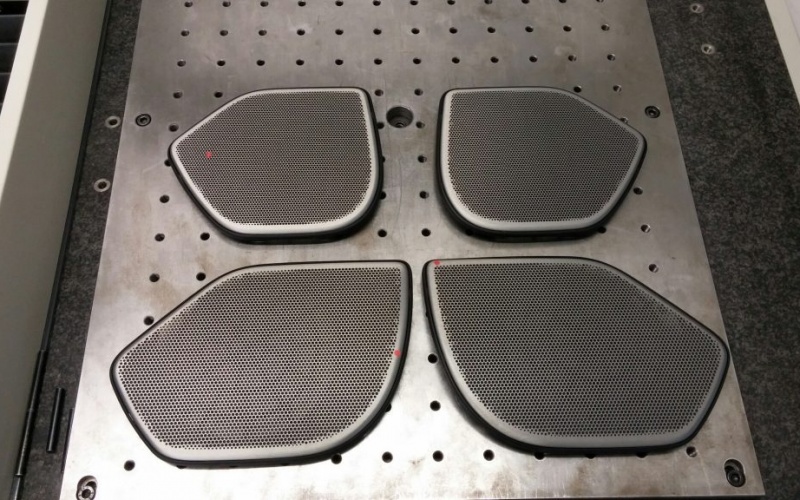
With a working envelope of 500mm x 700mm x 400mm, our CNC CMM is the ideal tool for measurement of a huge variety and size of components.
CAD Models can be uploaded onto the system and parts aligned to the respective CAD models. This allows us to give accurate geometry results of any component to the nominal CAD models.
Digital scanning of components (Digitizing) is another option that we can provide. We can create an IGES 2D model of any feature for comparison to any CAD software package.
With a large selection of contact probes and extensions at our disposal, LVS QMS has access to a huge range of configurations that can allow dimensional inspection of even highly complex components.
Add to that our current selection of manual inspection equipment and LVS QMS has the complete set up for all of your Contact measurement / metrology needs.
Non-Contact Measurement:
HD Visual Inspection
LVS QMS Ltd has at its disposal a full HD Vision System for all non-contact measurement requirements.
With its built in software, we can measure down to 1µ, without touching the components.
Once the image has been captured by the system, the software can then be used, to measure:
• Length
• Diameters
• Radius
• Angle
• Visual Aspects (surface marking, pitting, scratches, flash etc.)
All results and images are saved as .PNG or .JPEG files.
Image mark up, and the ability to change the actual light factors of the image are also characteristics of this service.
3D Laser Scanning
 We have recently taken delivery of a PRINCE 775 3D laser scanning system. Manufactured by Scan-Tech, the unit uses a combination of red and blue laser technology to provide very high resolution and highly detailed data capture.
The primary use of this equipment will be for high-resolution contactless measurement of components. In some cases, this will be as part of an inspection process such as dimensional reporting, but may also involve the reverse engineering of an existing item that has no current CAD data.
The improved services that the new equipment will allow LVS QMS to provide include:
Dimensional Reporting of parts without CAD data. Physical parts can be inspected without CAD data. Full dimensional reports can be produced on legacy parts that currently only have 2D drawings.
Reverse engineering of existing components. This where there are no drawings available, but full CAD data is needed. This can apply to some re-shoring projects, where the overseas plastic processing company designed the component and manufactured the tooling. The use of scanning equipment is far less laborious than having to take hundreds of measurement using a CMM.
Pre-Production Inspection of Tooling. Inspection of finished tooling to CAD can be completed before manufacture begins, ensuring that the tool is accurate and no areas have been missed or over machined.
First Article Inspection. Inspection and verification of the newly manufactured part to the CAD design can be quickly generated, i.e., before full production commences.
Trend Analysis, Statistical Analysis & ‘Golden Mesh.’ This involves the inspection of multiple parts to ensure the manufacturing process is reliable, repeatable and consistent. Full statistical analysis inspection can be completed, including Cpk, Ppk, Min, Max, Avg and Sigma values.
If required, creation of a “Golden Mesh” or ‘Average’ part can then take place, providing a better model for purposes of product reverse engineering.
Full Inspection to CAD with GD&T. This is the inspection of manufactured parts against CAD, showing critical dimensions and colour plots with a GO/NO GO scale that allows a production team to easily identify problem areas.
GD&T (Geometric Dimensioning & Tolerancing) inspection can include product flatness, concentricity and parallelism.
Digital Assembly. Multiple parts of an assembly can be individually inspected to ensure all parts will fit together correctly.


